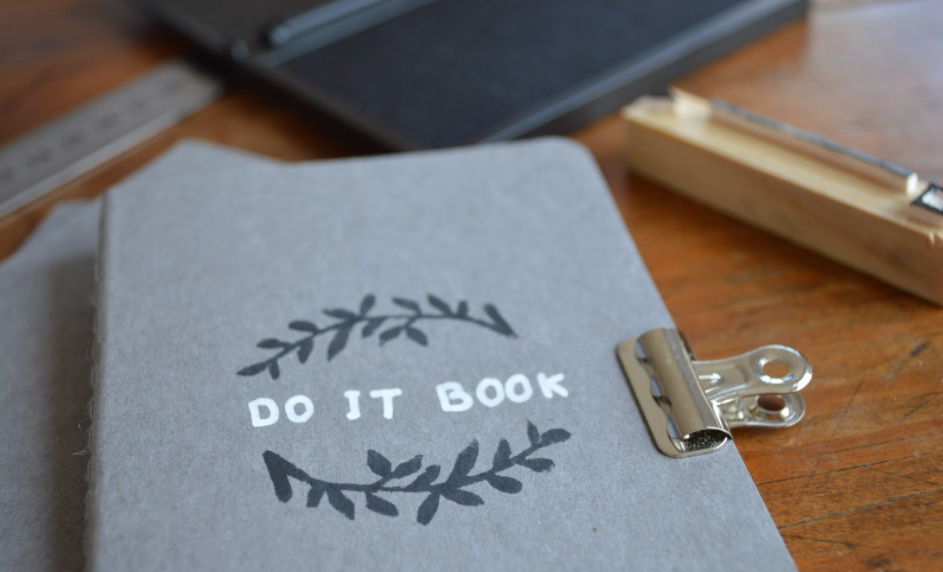
There is nothing more beautiful and exhilarating than the sight of a beautiful imprint on any document, especially if it stands out wonderfully among so many others. A little inner voice seems to tell us softly “How I would like to have such a pretty stamp”, we will tell you firmly, that you can also create your stamp according to your desires if you wish. A personalized stamp can be made yourself with a few tips and technical methods. Discover how to obtain beautiful, unique stamps for your pleasure!

Materials needed to make stamps
Creating your date stamp is not very complicated, you will need specific materials for this. Rest assured, these are not difficult to find and are even very common accessories in almost all specialty stores or supermarkets. The advantage of making your stamp is that this way, there will be no more question of looking for a lithography company and thus spending large sums for customization.
Normally, for small stamps, a little bit of gum will do just fine, but for stamps with engravings and texts, liquid latex will be necessary. You will also need something to write or engrave the letters or drawings, modeling clay, double-sided adhesive tape, or sticky paper. Not forgetting a scalpel or failing that a cutter to engrave your texts or drawings, and finally, a good dose of patience and dexterity!
Your rubber or latex stamp
- Custom rubber stamp
To do this, draw the personalized design you have chosen on an eraser. If it is text, write it backward like a negative. To make your stamp, work in a bright and quiet workshop, but do not let your imagination run wild and concentrate on the task at hand. Since it is the eyes and the hand that works, spare them and keep in mind that it is the texts in relief that will be visible on the paper. Carefully cut out the outline of the desired texts or designs with the scalpel or cutter. And that’s it! You will be able to appreciate your personalized stamp afterward.
- Custom latex stamp
For these stamps that contain engravings, images, and texts at the same time, you must use modeling clay as a mold. It will be in this dough that you will engrave the outline of your stamp. It is no longer a question of engraving shapes and putting them in relief as before but on the contrary of digging the shapes into the dough. Let it dry and harden once your texts or drawings are finished. Then take the liquid latex and pour it into the dough like a mold. Then cover the latex with a piece of glass, plexiglass, or any solid flat support and fix everything with adhesive tape or sticky paper, and let the latex dry. You will thus obtain a pretty homemade stamp!
